How to Install a Chimney Liner Through a Damper
July 19, 2023
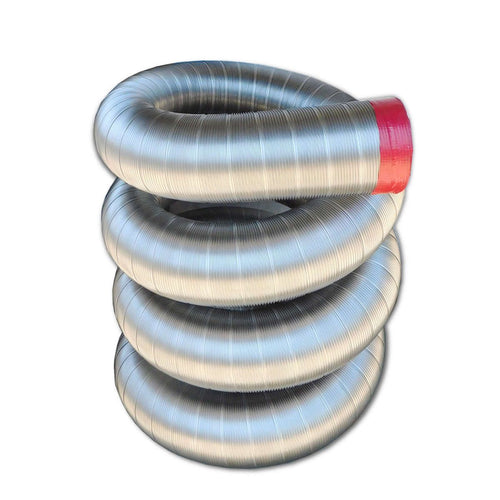
When installing a chimney liner, getting the liner through the damper opening can be something of a challenge. A typical 6" round liner is 6.25" on the outside diameter. Your damper opening is probably in the range of 5". There are generally two ways to get around this problem.
Option 1: Widen the damper opening.
Remove the damper door. This may give you some added clearance. If not, you can continue by removing the damper housing that it usually mortared in place. Sometimes using a reciprocating saw (Sawzall) or grinder and just cutting an opening large enough to slide the liner through is sufficient. Should you need additional clearance, brick removal is typically permissible since that is a non-structural area.
Option 2: Ovalize a section of the liner
You will need to take a couple of measurements: the opening width of the damper, and the distance you will need from the damper to the exhaust of your insert or stove, which determines the length that you will need to ovalize. Once you have that information, uncoil the liner, and starting at one end, ovalize the liner to the thickness and length needed.
How to ovalize the liner: There are number different items you could use to ovalize the liner, and they will give you the same results. One we have found that works well is a wide board (a 2x10, perhaps, or something close to that) a couple of feet in length. Start with the liner secured with your knees, and begin from the end by pressing down and work towards the length you need. Continue pressing down, going forward then back again until you have the width and length needed. The liner is sturdy and will not crush, so you can apply pressure to it to achieve the dimensions needed.
Make sure you have the correct length and thickness, so you won't have to remove it and redo it. Once you have the liner ovalized, install that end first down the chimney flue. After you have it through the damper, re-form the very end of the liner back to round with your hands so the connector will fit. Note: Smooth Wall liners cannot be ovalized. We recommend keeping the ovalization to 1/2" or less to be sure you do not affect draft.
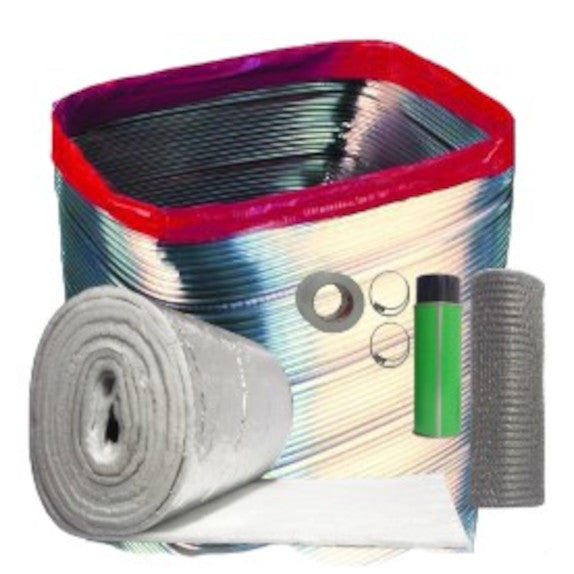
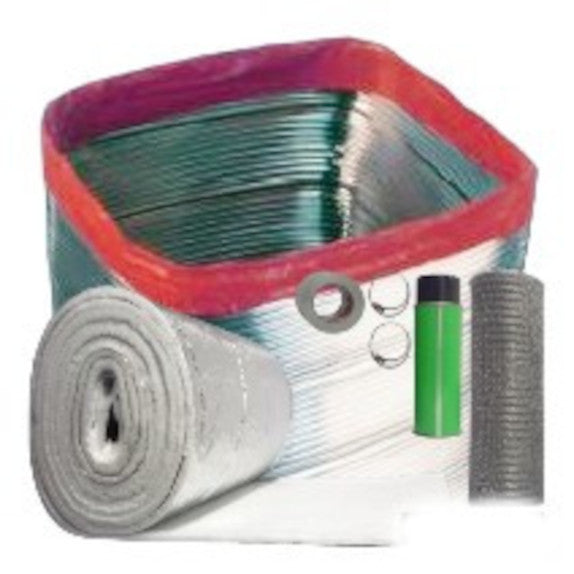
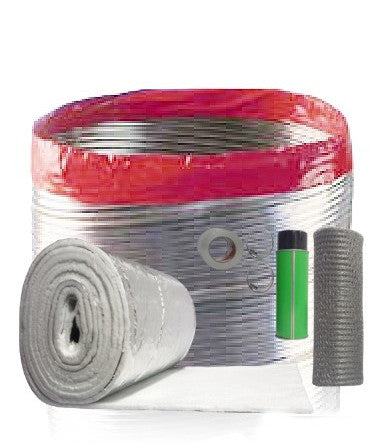
Common products used in installation
Related Articles
DIY Center
(AKA ‘The Rockford Files’)
From video tutorials to product walkthroughs, we have a variety of DIY resources just for you! Click the button below to view our entire library.
Our 316Ti flexible chimney liner and chimney liner components have passed the rigorous testing at the Underwriters Laboratories with best in class status and are UL Listed. So if you are looking for UL listed chimney liner sold directly to homeowners, then look no further than Rockford Chimney